
Install a compatible wallet app
To set up a ZK Cred Wallet, you first need a mobile application that supports either AnonCreds or W3C Verifiable Credentials with zero-knowledge proof capabilities. These wallets act as your private identity vault, storing credentials locally.
Choose a wallet that explicitly mentions ZK support. Popular options include apps built on the cheqd network or those compatible with Sovrin and Hyperledger Aries. Ensure the app is downloaded from an official source to avoid compromised binaries.
Open your device’s app store and search for a verified ZK Cred Wallet. Look for recent updates and high download counts to ensure active maintenance. Install the application on your smartphone or tablet.
Upon first launch, the app will generate a recovery seed phrase. Write this down on paper and store it in a safe place. Never share this phrase digitally or take a photo of it, as it grants full access to your identity credentials.

Complete the in-app verification steps to confirm your wallet is ready. This usually involves testing a small, local credential issuance or a simple ZK proof generation to ensure the cryptographic keys are functioning correctly.
Connect to a credential issuer
Linking your ZK Cred Wallet to a trusted issuer is the first step toward building a verifiable digital identity. Unlike traditional social logins, the issuer does not store your personal data. Instead, they issue a signed, cryptographic credential directly to your wallet. This credential acts as proof of your attributes—such as age, citizenship, or university degree—while keeping the raw data private.
To begin, you need an issuer that supports the W3C Verifiable Credentials standard. Common issuers include universities, government agencies, or private employers. The process involves two main actions: authorizing the wallet to receive data and verifying the issuer’s public key.
Locate an organization that issues digital credentials compatible with your wallet. Most modern identity wallets support issuers that use the W3C VC Data Model. Check the wallet’s documentation for a list of trusted partners, such as specific universities or government digital ID programs.
Open your ZK Cred Wallet and select the option to "Add Credential" or "Connect Issuer." You will typically scan a QR code provided by the issuer or click a deep link from their website. This action opens a secure channel between your wallet and the issuer’s server.
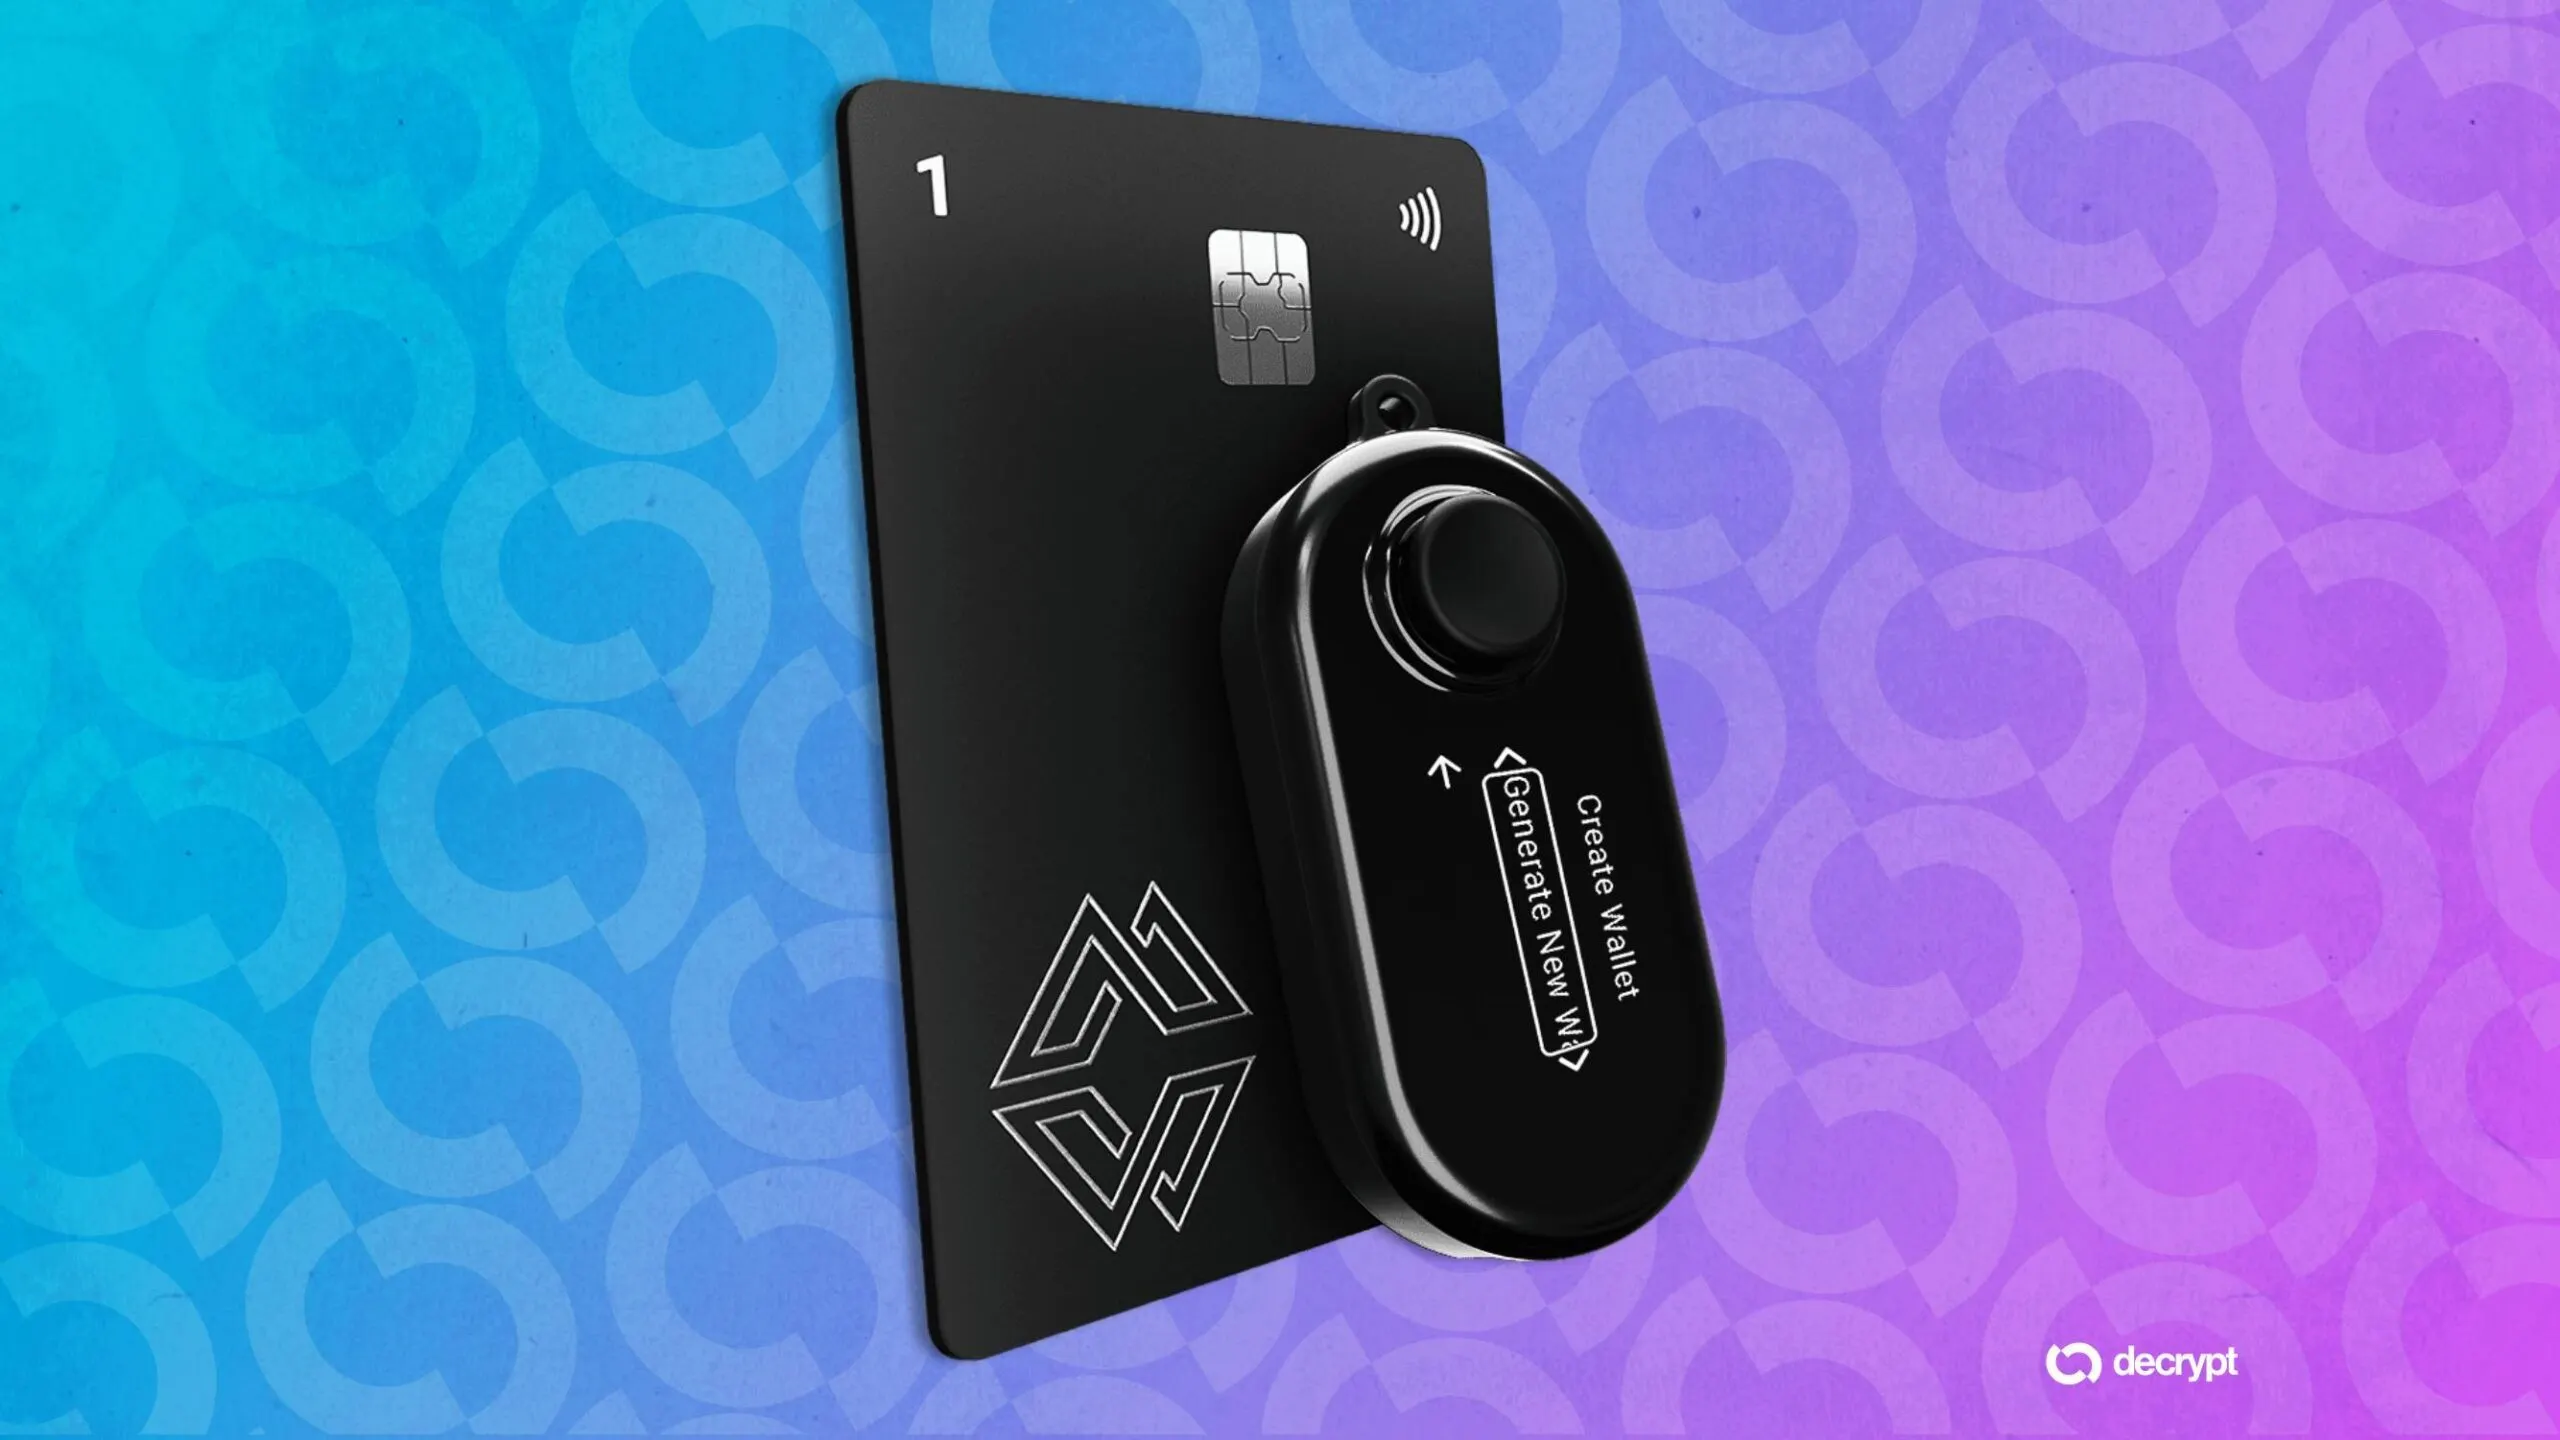
The issuer will request specific attributes. For example, a university might request your "Graduation Status" without asking for your GPA or student ID number. Review the requested data fields carefully. Since this is a zero-knowledge setup, you are only sharing what is necessary to prove a claim.
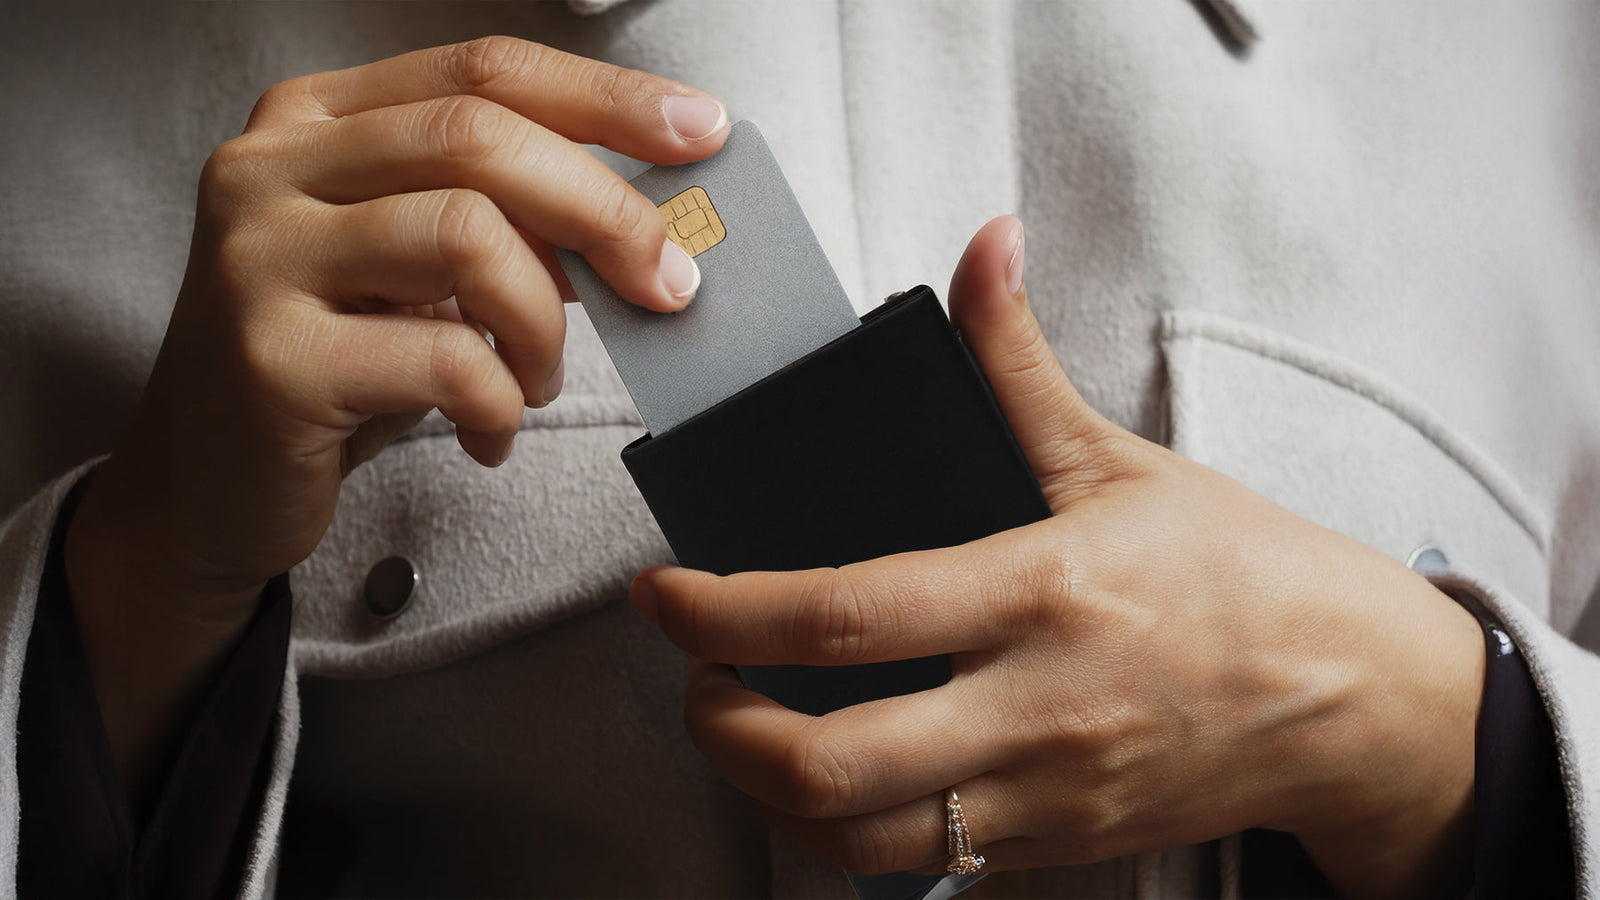
Once you approve the request, the issuer signs the credential with their private key and sends it to your wallet. Your wallet verifies the signature using the issuer’s public key. If valid, the credential is stored locally in your encrypted vault. You now hold a portable, tamper-proof proof of identity.
After the connection is established, you can use this credential to verify your identity on other platforms. When a third-party service asks for proof of age or education, your wallet generates a zero-knowledge proof. This allows you to prove you meet the criteria without revealing your actual birthdate or diploma details.
Generate a zero-knowledge proof
With your credentials stored in the ZK Cred Wallet, the next step is to use them without revealing the raw data. This is where zero-knowledge proofs (ZKPs) come into play. A ZKP allows you to prove a specific fact—such as being over 21 or residing in a certain country—without revealing the actual information that supports that claim.
Think of a ZKP like a bouncer at a club. You don't need to hand over your entire ID card, which contains your home address, birthday, and signature. You simply show that you meet the criteria (age > 21), and the bouncer verifies it without seeing any other details on the card. This preserves your privacy while satisfying the requirement.
To generate a proof, you select the credential you want to use and define the condition. For example, if a website requires age verification, you select your "Date of Birth" credential and set the condition to "greater than 21." The wallet then uses cryptographic algorithms to create a proof that validates this condition is met.
The proof is generated locally on your device. This means your raw data never leaves your phone or computer. The proof is then sent to the verifier (the website or service). The verifier checks the proof against the public parameters of the system. If the proof is valid, the service accepts your verification without ever knowing your actual age.
Share the proof with a verifier
Once you have generated the zero-knowledge proof, the final step is to submit it to the service provider. This is the moment where your private identity claim is validated without revealing the underlying data. The verifier receives the cryptographic proof and runs a verification algorithm to confirm its authenticity.
Submit the cryptographic proof
Navigate to the verification endpoint provided by the service. Most platforms offer a dedicated interface for this, often labeled "Verify Identity" or "Submit Proof." You will typically paste the proof string or upload the generated file. Ensure you are using the correct format expected by the verifier, such as a JSON object or a specific cryptographic signature format.
The verifier checks the proof against the public parameters of the zk-creds protocol. This process confirms that the statement (e.g., "I am over 18") is true without exposing the actual birthdate. The verification is instant and does not require the verifier to store any personal information about you. This is the core benefit of using zero-knowledge proofs for identity management.
Confirm validation status
After submission, the verifier will return a success or failure response. A success response usually includes a token or a session update that grants you access to the restricted service. If the verification fails, double-check that the proof was generated correctly and that it matches the specific claim requested by the verifier. Common issues include expired proofs or mismatched cryptographic parameters.
Verify the transaction is complete
To ensure the process was successful, check for a confirmation message from the service provider. This might appear as a green checkmark, a logged-in session, or a received token in your wallet interface. You can also verify the transaction on the blockchain if the verifier publishes a verification event. This provides an immutable record that the proof was accepted, completing the private identity transaction.
-
Proof submitted to verifier endpoint
-
Verification algorithm returned success
-
Access token or session granted
-
Transaction logged or confirmed
Common questions about ZK wallets
Understanding how zero-knowledge proofs interact with blockchain infrastructure helps clarify why these wallets offer superior privacy compared to traditional identity systems.
No comments yet. Be the first to share your thoughts!